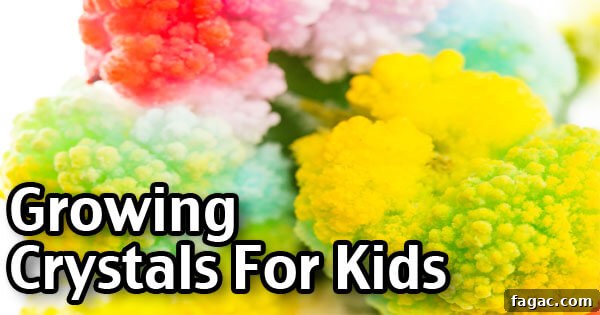
This growing crystals recipe makes a fun science experiment for kids! Growing crystals is an easy craft for children, and they love watching the crystals change a little more each day and form new, interesting patterns. Adding food coloring makes the display more vivid and helps kids see how the crystals develop.
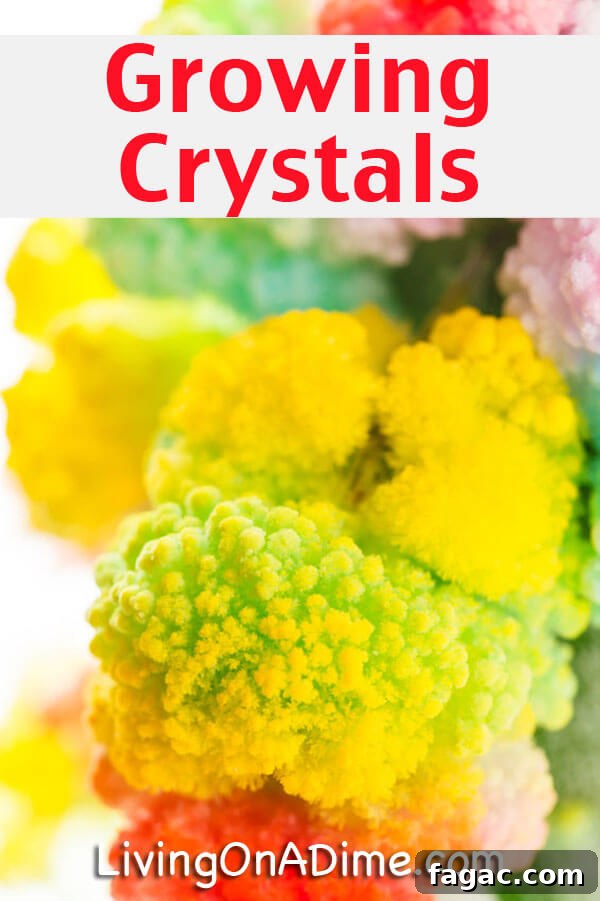
Growing Crystals Recipe – Fun Kids Science Experiment
Many of us remember growing crystals at school and watching the formation day by day. You don’t need special training to grow crystals at home — this simple experiment is perfect for introducing kids to basic science principles like saturation, evaporation, and crystal formation. It’s safe when supervised and offers a hands-on learning opportunity that sparks curiosity.
Materials
- Bluing (available in the laundry section)
- Ammonia
- Salt
- Liquid food coloring (optional)
- Water
- Small sponge pieces and a shallow glass or plastic bowl
Instructions
Day 1: Place damp sponge pieces in a shallow glass or plastic bowl. Pour 2 tablespoons each of bluing, salt, water, and ammonia over the sponge pieces, distributing the liquid gently so the sponges absorb it evenly.
Day 2: Sprinkle an additional 2 tablespoons of salt over the sponge. Check the bowl from a distance to avoid disturbing any early crystal growth.
Day 3: Carefully add 2 tablespoons each of bluing, salt, water, and ammonia again, taking care not to pour directly onto any visible crystal formations, which can be fragile. Repeat this Day 3 maintenance as needed to continue feeding crystal growth. If you want colored crystals, add a few drops of liquid food coloring during one of the additions; the dye will spread through the solution and tint the forming crystals.
Observe the bowl daily and note any changes. As the water evaporates and the solution becomes more concentrated, crystals will begin to form on the sponge and nearby surfaces. Photographing the progress can be a fun way to document the experiment.
Safety note: Use adult supervision when handling ammonia and bluing. Work in a well-ventilated area and keep the materials away from small children and pets.
Tips for Success
- Use a shallow, clear container so you can easily observe growth from the sides as well as the top.
- Avoid disturbing the bowl once crystals begin forming; even slight movement can break delicate structures.
- Experiment with small amounts of food coloring to achieve different hues without altering the chemical balance too much.
- If growth slows, add another small dose following the Day 3 routine rather than large quantities at once.
This simple crystal-growing activity is an entertaining and educational project that encourages observation and experimentation. It’s a low-cost, low-prep science craft that can be adapted for classroom demonstrations, at-home learning, or a rainy-day project with the family.